
First, find the centre of the top of the first sleeve by folding it in half lengthwise. Line the centre point up with the marked shoulder line on the body of the shirt, right sides together.
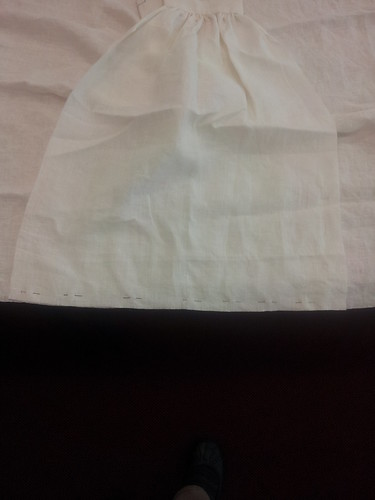
Leaving a half-inch seam allowance, sew the sleeve onto the shirt body using running stitch. Then do the same thing with the other sleeve.

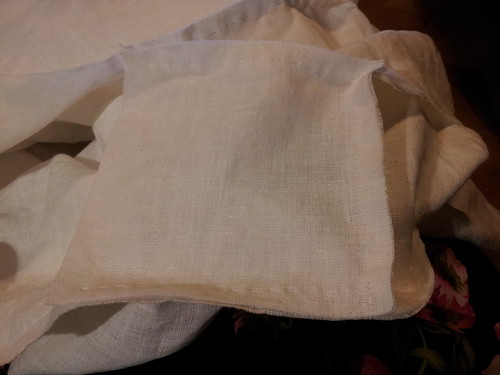
Next, you need to put the underarm gussets into place. First, leaving the same half-inch seam allowance and working with the shirt inside-out (that is, right sides together), sew one side of the gusset to the side of the sleeve next to the body and finish off your thread. It doesn't matter whether it's the front or the back of the sleeve.

Then, orient the gusset so that the adjacent side to the one just sewn is along the opposite side of the sleeve. It'll look like the corner of the gusset is pointing down the length of the sleeve.

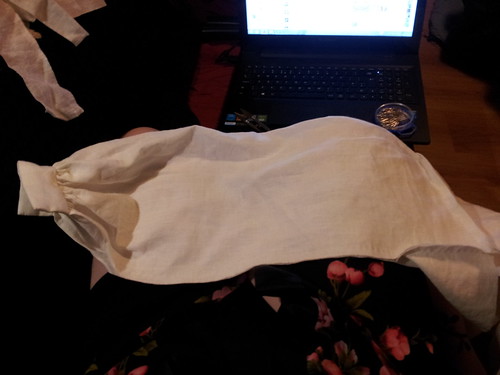
Then, starting at the end nearest the body, sew the second side of the gusset to the other side of the sleeve. This time, instead of finishing off the thread, continue along the length of the sleeve until you almost reach the hemmed ends of the placket. (Don't worry about where the seam runs into the hems, that part comes later.) You now have a sleeve that's a tube instead of a flat piece.
Return to the underarm area. Sew one of the remaining short sides of the gusset to the shirt body and fasten off your thread.
Finally, sew the last short side to the shirt body and continue down along the side seam. Again, the bottom of the gusset should point down the centre of the seam. The length of the seam depends on your body - it should be open from the middle of your hip to the bottom edge. I use the bottom edge of the side of my knickers as a point of measurement, but whatever works. You should be able to lift up the bottom of the shirt to use the facilities without having to fight with a tube of fabric.
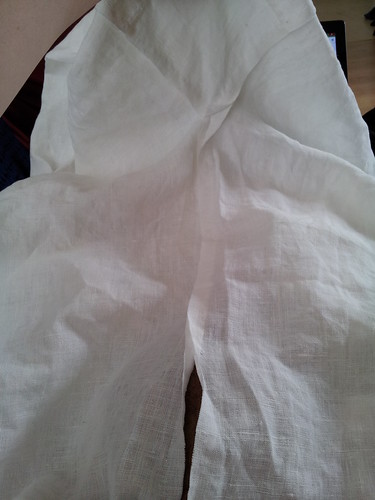
Follow the same procedure to insert the gusset on the other side. You've now got something that looks like a shirt!
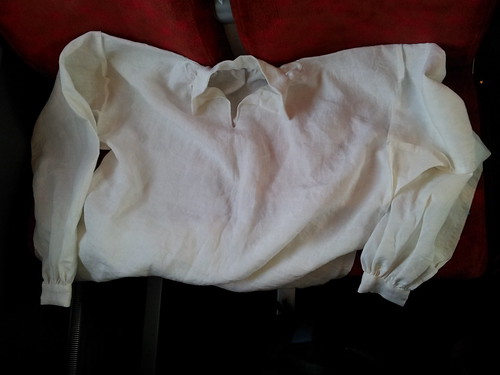
Resist the urge to turn it right-side out and try it on. Linen frays like nobody's business, and you'll need to finish the inside seams before you have a wearable garment. Next time, on the Knitting Fiend's Shirt Saga...
No comments:
Post a Comment